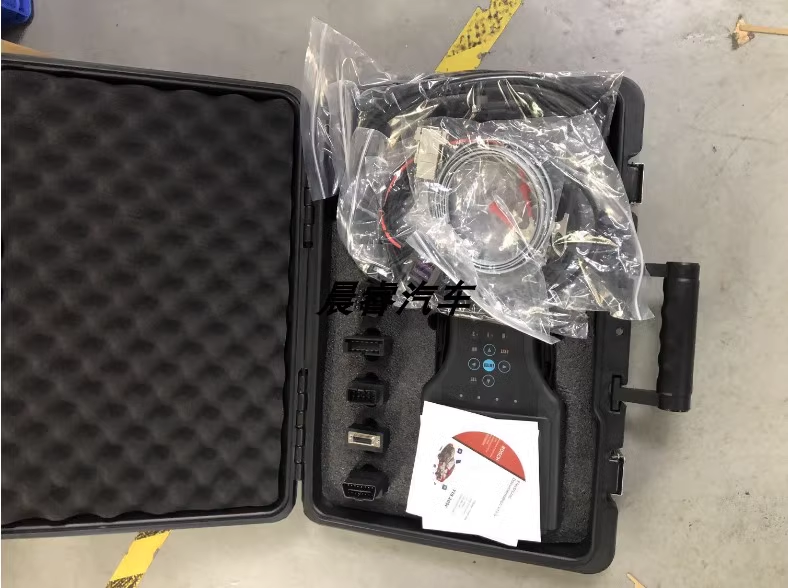
1. GM original software with powerful and comprehensive detection functions, testing powertrain, body, and chassis
2. Support all GM car series after the ’93 era, including North American GM, Shanghai GM, Isuzu, Saab, and Opel
3. Hardware can be upgraded to ensure that the instrument is never outdated
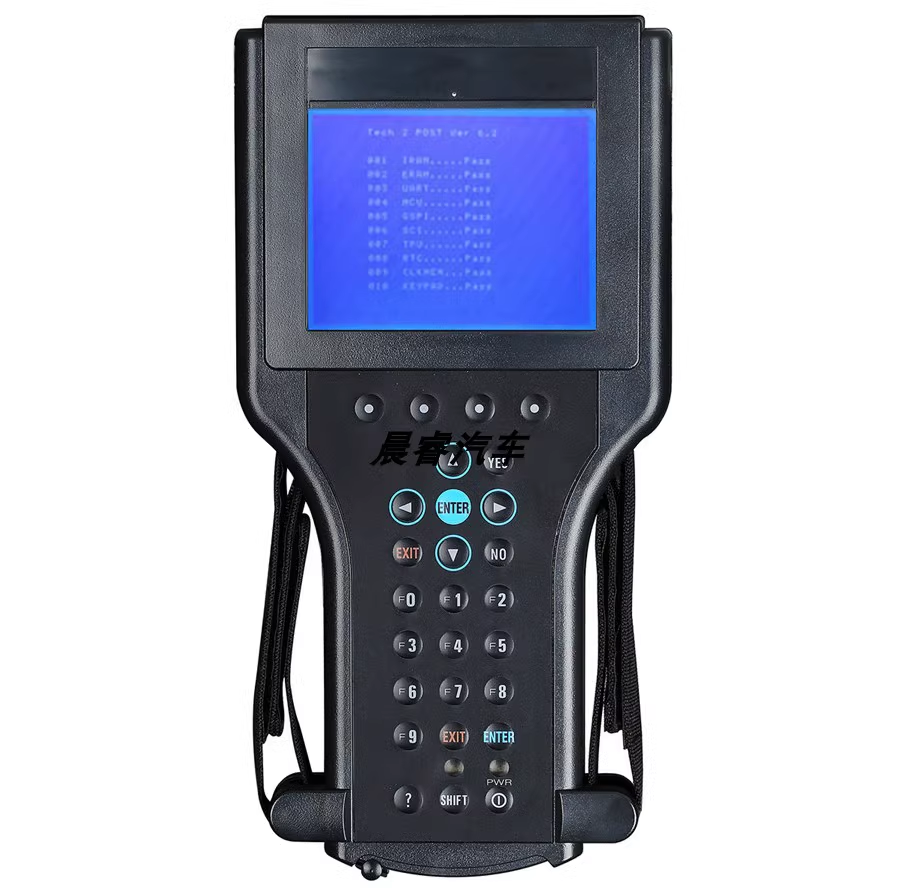
4. Large screen with bright background light
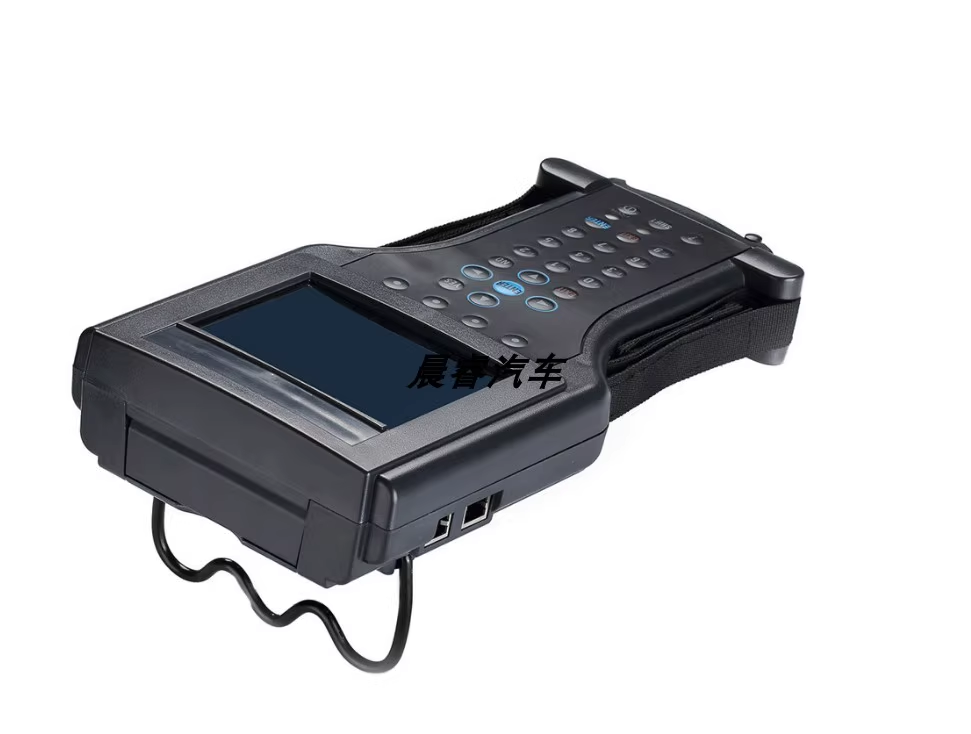
5. Equipped with RS232 and RS485 ports, connected to computers or other instruments
6. Storing and replaying fault codes, locking data frames, and fault records
7. Be able to observe the status of vehicle diagnostic testing during road tests
8. Humanized layout of buttons, easy to operate
9. Use a 32-bit card with large capacity and easy to upgrade
10. Connect the CANdi module to detect vehicles equipped with the CAN system (optional)
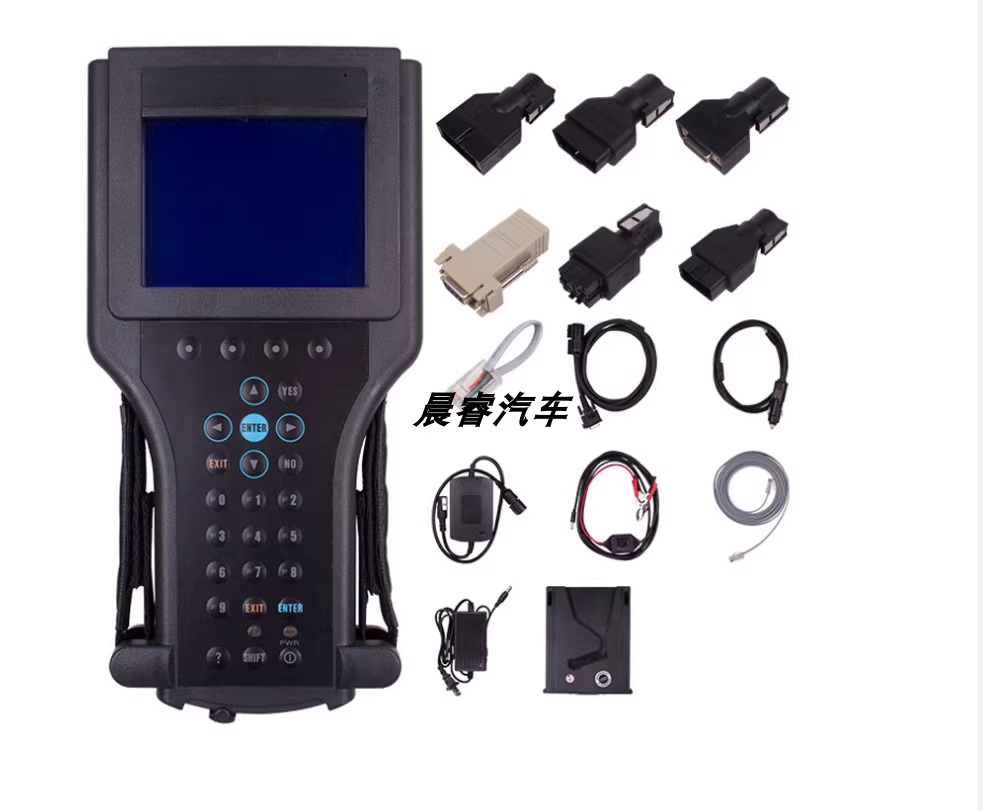
Tech 2 standard configuration
1. Host
2. GM32M PCMCIA card
3. 110 volt transformer
4. Data connection and self inspection connector
5. North American 12/19 pin connector
6. OBD II connector
7. Cigarette lighter wiring
8. Boxes
9. RS232 interface self check connector
Option: 1. GM Maintenance Programming System TIS2000
2. TIS2000 includes dongles
This is another powerful feature of Tech2, which allows technicians to apply a repair programming system to rebuild car computers after 1993
Programming and settings. To complete this task, it is necessary to configure the computer, Tech2, and maintenance programming system CD.
TIS2000 includes encryption dog, startup CD, and car computer data CD. Can complete the following 3 tasks:
*Input a new program into the car computer
*Upgrade Tech2 software
*Upload the data stored in Tech2 to the computer
2. Shanghai Universal Program Card (Standard)
3. US Universal Program Card (Buick Royale, Buick Boulevard)
4. Opel Program Card
5. Saab Program Card
6. Isuzu Program Card
7. CAN system converter CANDI
The Tech 2 diagnostic tester consists of a LCD display screen, four “soft keys”, a standard keyboard, a vehicle communication interface module, and an RS-232 communication port. By replacing different plug-in cards, different vehicle models can be tested. The operation steps are as follows:
(1) Turn on the power, the instrument enters a self check state, and the screen undergoes “SYSTEM INITIANLIZING” for about 4 seconds; When the instrument emits a beep, the screen will display the version information of the instrument.
(2) Press the Enter key to enter the main menu, and the screen displays: F0 Diagnosis, F1 Service Program System, F2 Display Capture Data, F3 Tool Options, F4 Enable.
(3) Select the target using the up and down cursor keys, and press the Enter key to confirm.
(4) Select the F0 function, enter the vehicle specifications option, and select the model year by moving the cursor keys. Press the Enter key to enter the vehicle system, select the appropriate type, and then press the Enter key to enter the system selection menu. The screen displays: F0 Engine Power, F1 Body, F2 Chassis, F3 Diagnostic Circuit Check.
(5) Move the cursor key to select F0, press the Enter key to enter the engine type option. At this time, you can select two models: 3.2L V6G8 or 3.1L V6L82. Select the former and press the Enter key to directly access the following functions; After selecting the latter and pressing the Enter key, you also need to select BUICK and Enter to access the following functions. The screen displays: F0 Fault Code (DTC), F1 Data Display, F2 Special Functions, F3 Capture, F4-I/M Information, F5 ID Information.
(6) Select DTC and press Enter to enter the diagnostic code function: F0 DTC information, F1 failure record, F2 clear fault code, F3 capture information.
(7) Move the cursor key to select F0, press the Enter key to confirm, and enter the following interface: F0 DTC information, F1- check fault codes (special DTC), F2- record after clearing fault codes, F3- diagnostic test instructions.
(8) Move the cursor key to select F0, press the Enter key to confirm, and the fault code will be displayed. Flip through the cursor keys; Or press the INFO corresponding key to provide relevant help information.
(9) Return to ‘7’, select F1, press the Enter key to confirm, and enter the fault query interface. At this time, you can input the fault code to query the indicated fault and provide relevant help information.
(10) Return to ‘6’, select F1, press Enter to confirm, and the fault code will be displayed.
(11) Return to ‘6’, select F2, press Enter to confirm, and the screen prompts: Do you really want to clear? (Y/N), press the Y key to clear, and press the N key to cancel.
(12) Return to “6”, select F3, press Enter to confirm, the screen will display: recapture information, repeat display, prompt Do you really want to refresh (Y/N), press Y to recapture, and press N to repeat display.
(13) Return to ‘5’, select F2, press the Enter key to confirm, and the screen will display: engine, transmission.
(14) Move the cursor key to select “Engine”, press the Enter key to confirm, and enter the following operation interface: F0- Number of engines? Nettle? F1 catalyst data, F2 EGR valve data, F3 oxygen sensor data, F4 instrument data, F5 ignition data, F6 output driver data, F7 charcoal canister data.
(15) Move the cursor key to select F0 engine data, press the Enter key to enter the following interface: 58 items including engine speed, ideal idle speed, water temperature, intake air temperature, air flow sensor, engine load, etc
(16) Select one of the options to test.
(17) Return to “5”, move the cursor key to select F2 “Special Functions”, press the Enter key to enter the following interfaces: engine output control, transmission output control, fuel system, idle speed control system, and crankshaft position change learning function.
(18) Select engine output control, press the Enter key, and the screen will display: fan relay, fault indicator light, air conditioning relay, carbon canister system, EGR solenoid valve, closed-loop data, cruise control, fuel pump, GENL – terminal.
(19) By selecting, the corresponding function can be accessed.
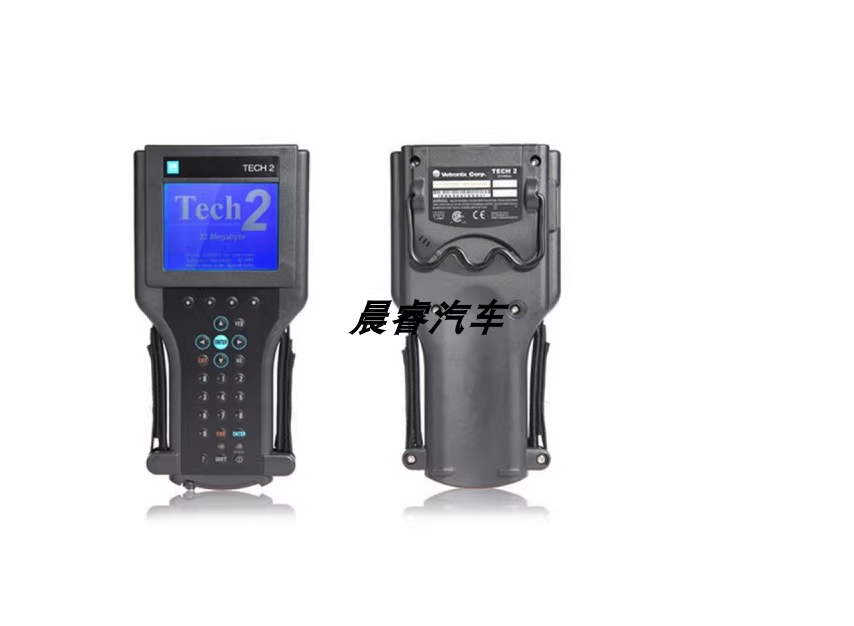
GM TECH2 universal tester (including candi/tis2000/32m card)